Dealing with a malfunctioning toilet can be a daunting task for homeowners. Issues like clogs, leaks, or a cracked toilet bowl may necessitate a toilet replacement.
In this comprehensive guide, we’ll take you through replacing a toilet, focusing on drain cleaning, finding a qualified plumber, and managing plumbing emergencies.
You may also like to read: Ultimate Guide While Selecting Toilet Partition
Section 1: Preparing for the Replacement
Before you embark on replacing your toilet, thorough preparation is key. Here are the steps you need to follow:
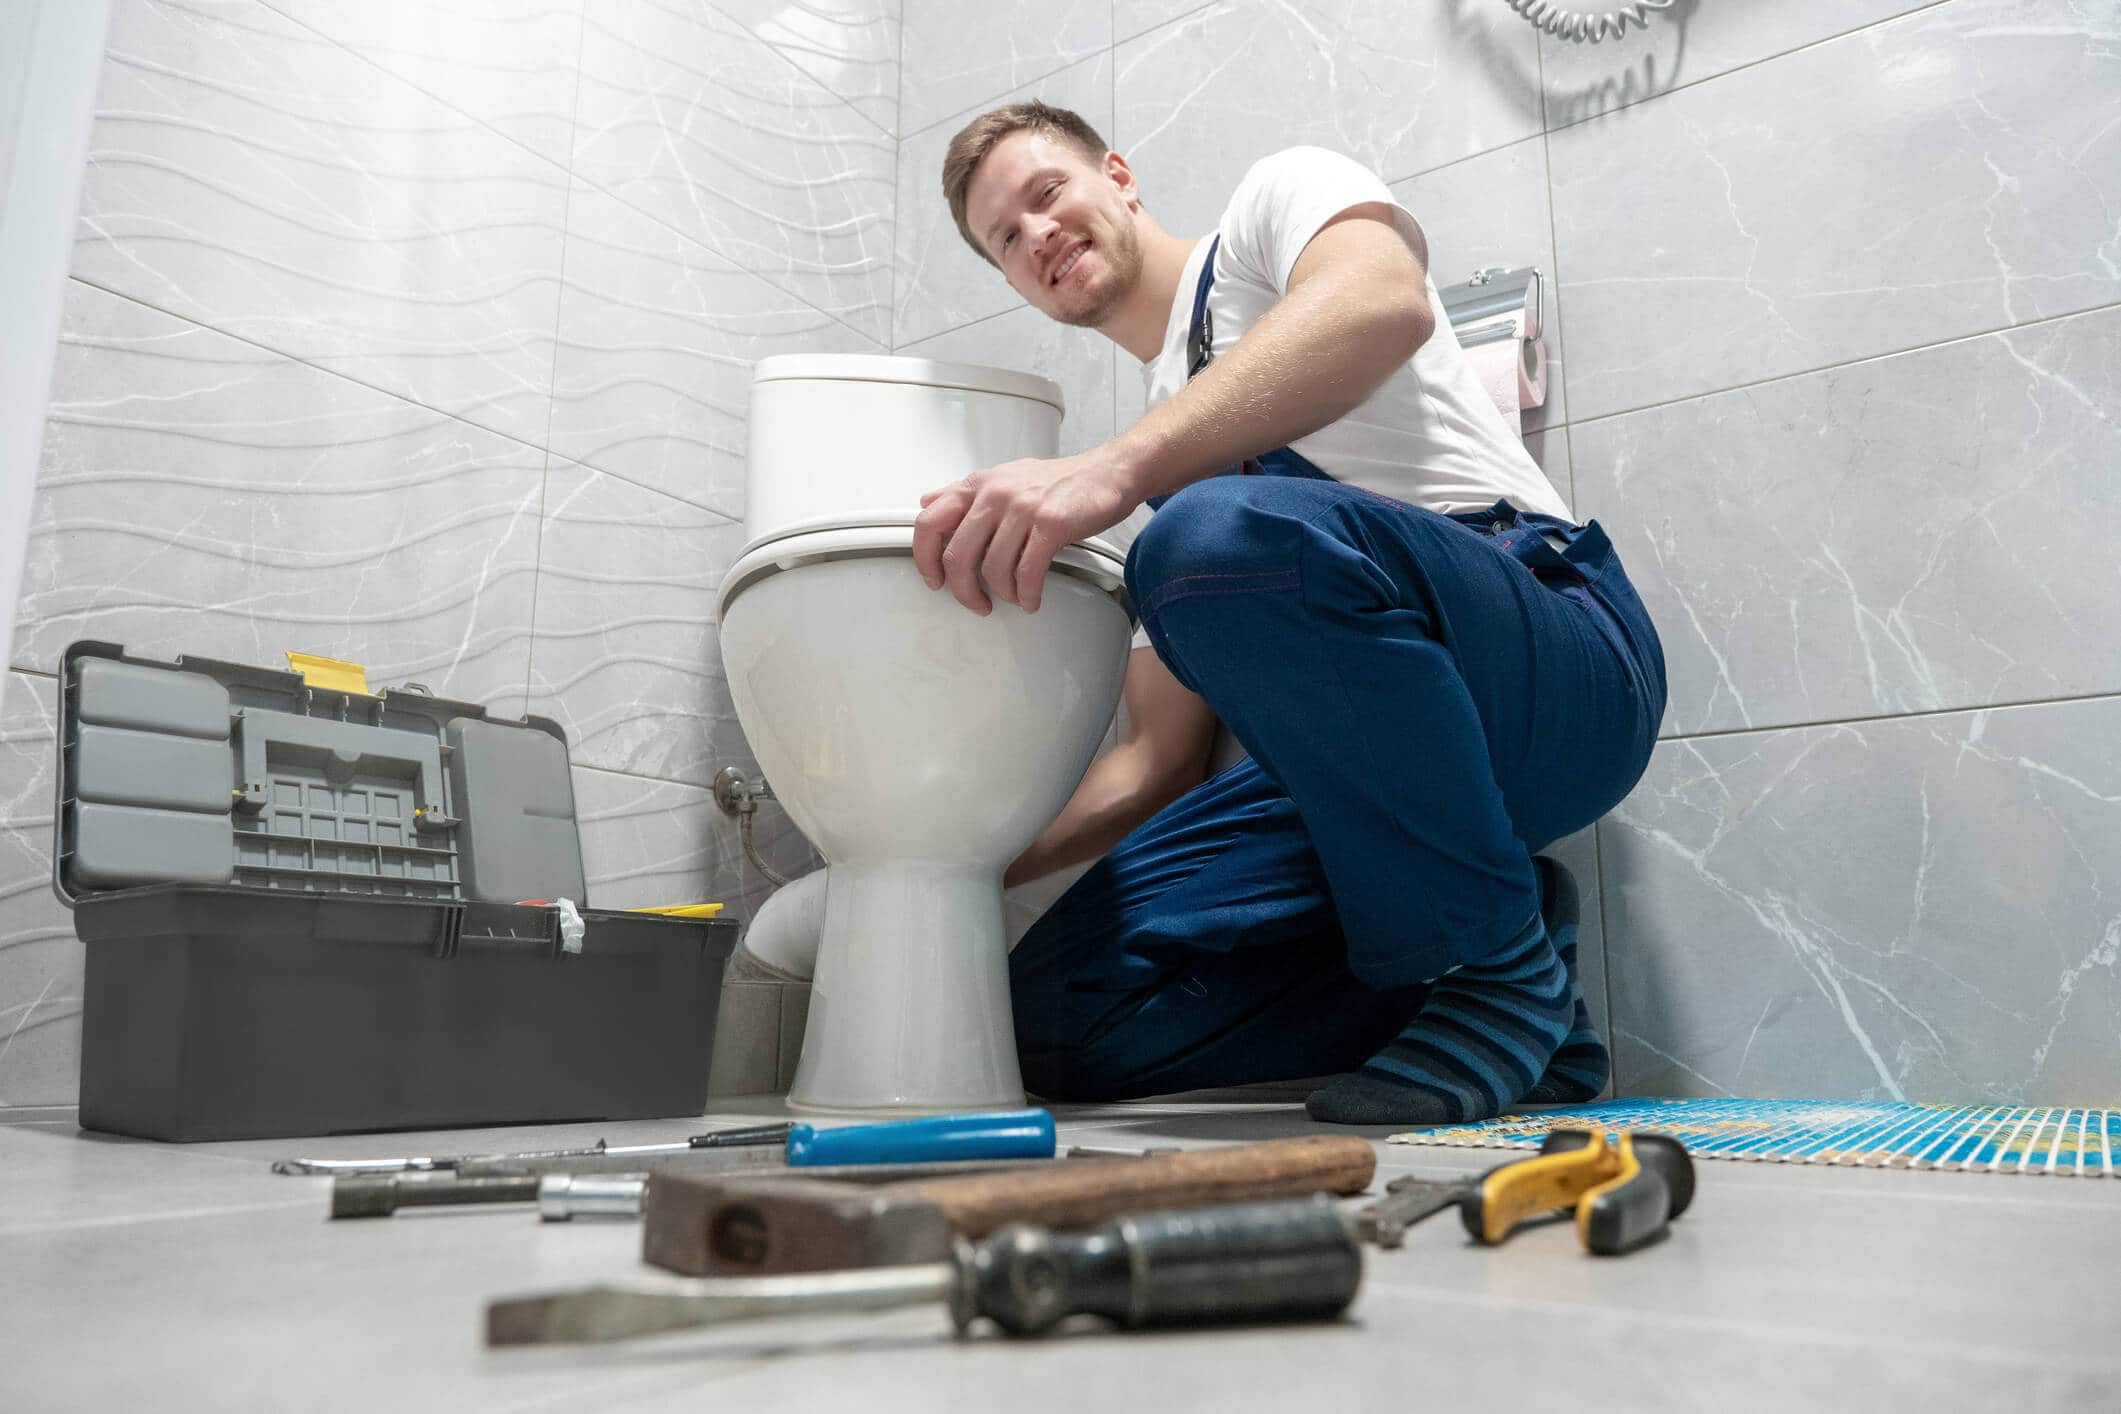
Gather the Necessary Tools and Materials: Ensure you have all the essential tools and materials ready for the task, including a new toilet, a wax ring, a wrench, a hacksaw, a bucket, a sponge, and a level. Having these items on hand is crucial before starting the replacement process.
Shut Off the Water Supply: Locate and turn off the shut-off valve responsible for your toilet’s water supply to prevent potential complications. Flushing the toilet will empty the tank and bowl, which is especially important for addressing urgent plumbing issues like leaks.
Drain the Water: Use a sponge or a bucket to remove water from the tank and the bowl. This will make the toilet easier to handle and prevent water from spilling during the removal process.
Section 2: Drain Cleaning and Inspection
Inspect the Drain: After removing the old toilet, take a moment to inspect the drain for any clogs or debris. If you find any issues, it’s the perfect time to address them using a plumbing snake or by seeking professional drain cleaning services.
Clean the Toilet Flange: Thoroughly inspect and clean the toilet flange, which connects the toilet to the drainpipe, ensuring it’s free of debris and in proper condition before installing the new toilet. If it’s damaged or rusted, it’s advisable to replace it.
Section 3: Finding an Experienced Plumber
For complex tasks and unexpected issues, having a trusted plumber in your network is wise. Follow these guidelines to find the right plumber:
Seek Referrals: Ask for recommendations from friends, family, or neighbors who have used plumbing services. Their insights can lead you to reliable and skilled plumbers.
Check Online Reviews: Utilize platforms like Yelp and Angie’s List to research local plumbing companies and their reputation. Reading reviews can help you select a plumber with positive feedback.
Confirm Qualifications: Ensure the plumber you choose holds the necessary licenses, insurance coverage, and expertise for your specific job. Don’t hesitate to request references if needed.
Section 4: Replacing the Toilet
Position the New Toilet: Place the new toilet by aligning the toilet bowl over the wax ring and flange, ensuring the mounting bolts match the holes in the toilet’s base. Gently press to secure the wax ring.
Secure the Toilet: Fasten the toilet securely by attaching washers and nuts to the mounting bolts, using a wrench for tightening. Be cautious not to over-tighten, as it could lead to cracks in the toilet bowl.
Re-establish Water Connection: Reconnect the water supply by attaching the water supply line to the fill valve and turning the shut-off valve back on. Check the toilet base for potential leaks.
Section 5: Dealing with Emergency Plumbing Repairs
If you encounter unexpected issues during the toilet replacement process, stay calm and follow these steps for emergency plumbing repairs:
Maintain Composure: Stay composed and assess the situation. In case of water leakage or a sudden gush, promptly shut off the water supply to prevent further damage.
Contact an Emergency Plumber: If the issue goes beyond your DIY capabilities, contact an emergency plumber immediately. They can quickly assess and resolve the problem.
Section 6: Ensuring Proper Sealing and Leveling
Apply Caulk (Optional): For added security and aesthetics, consider applying a thin bead of waterproof caulk around the toilet’s base. This can help prevent water seepage, especially in bathrooms with tile or uneven flooring.
Check for Level: After securing the toilet, use a level to ensure it’s perfectly level in all directions. If it’s not, use plastic shims to make necessary adjustments. A level toilet prevents future leaks and provides stability.
Section 7: Test for Proper Function
Flush and Check for Leaks: After installing the new toilet, flush it multiple times to ensure proper functioning. Inspect for any signs of leaks at the base, water supply connection, or in the tank, and address any issues promptly.
Inspect for Instability: Take a seat on the toilet and gently sway from side to side to confirm there is no wobbling. Any movement may indicate an uneven floor or installation issues; reevaluate and make necessary adjustments.
Section 8: Dispose of the Old Toilet
Adhere to Local Regulations: Before disposing of your old toilet, check your local regulations for proper disposal. Many communities have specific rules regarding the disposal of toilets and other plumbing fixtures. You might need to transport it to a designated recycling or waste facility.
Consider Donation: If your old toilet is in good condition, think about donating it to a charitable organization that can find a new use for it. This eco-friendly option can help those in need and reduce waste.
Conclusion:
In summary, replacing a toilet is a comprehensive process that involves careful preparation, drain inspection, hiring an experienced plumber, handling plumbing emergencies, ensuring proper sealing and leveling, testing for functionality, and responsible disposal of the old toilet.
By following these steps, you can successfully replace your toilet, maintaining the integrity of your plumbing and peace of mind.


