
If your Honeywell isn’t working properly, like – honeywell thermostat cool on blinking or your honeywell not reaching the set temperature, there could be an issue with the battery. Most of the time a dead or damaged battery makes it difficult for the thermostat or any device to work properly.
Hence, today in this post we’ll be talking about honeywell thermostat battery replacement guide. How to change battery in honeywell thermostat? What are the battery requirements for Honeywell thermostat? Do honeywell thermostats have batteries? And, what if your honeywell battery replacement not working?
We’ll address all these questions in this guide.
A guide about Honeywell thermostat batteries:
Before we talk further, let’s have some basic knowledge about Honeywell thermostat batteries as it’s important before replacing honeywell thermostat battery.
What is the battery capacity for honeywell thermostat?
Generally, 1.5V or 3V battery is used in honeywell thermostats. However, it completely depends on the model you are using. But, most thermostats require a 1.5V battery. But, before changing honeywell thermostat battery, it is always suggested that follow the user manual provided by Honeywell.
What are the compatible batteries for honeywell thermostat?
Apart from battery capacity, always use honeywell compatible batteries. Their thermostat mainly works on either AA or AAA batteries depending on the model and type of thermostat. Although, don’t forget to check the user manual at will confirm the type of batteries to be used in honeywell thermostats.
| Honeywell thermostat series | Type of battery used |
| Honeywell 8000 series | 3 AAA batteries |
| Honeywell 6000 series | 2 AA batteries |
| Honeywell 5000 series | 2 AA batteries |
| Honeywell 4000 series | 2 AA batteries |
| Honeywell 3000 series | 2 AA batteries |
| Honeywell 2000 series | 2 AA batteries |
| Honeywell 1000 series | 2 AA batteries |
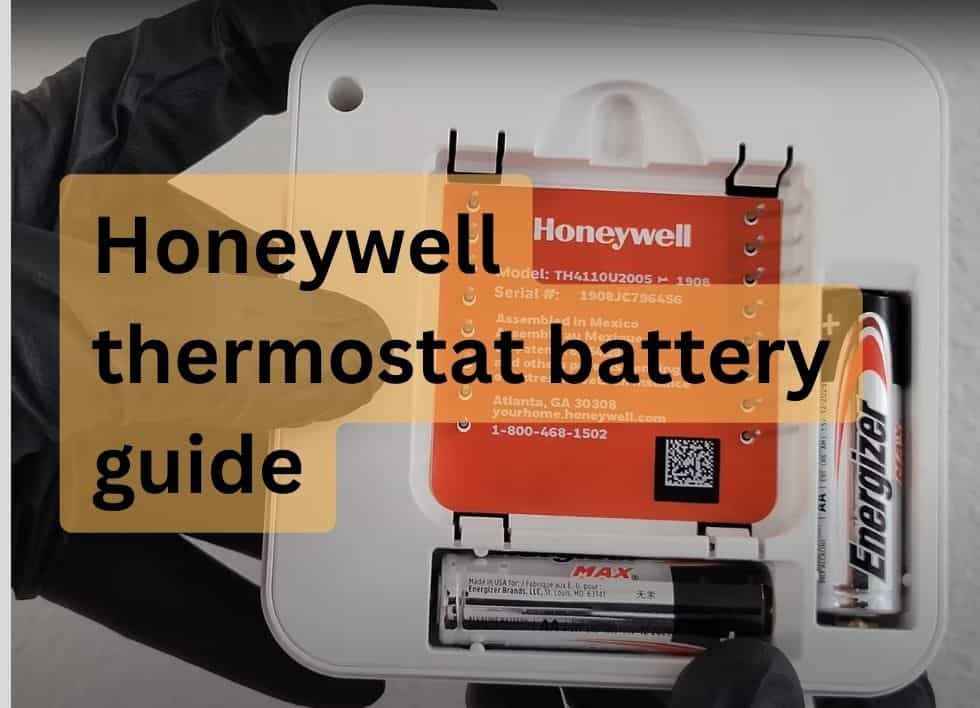
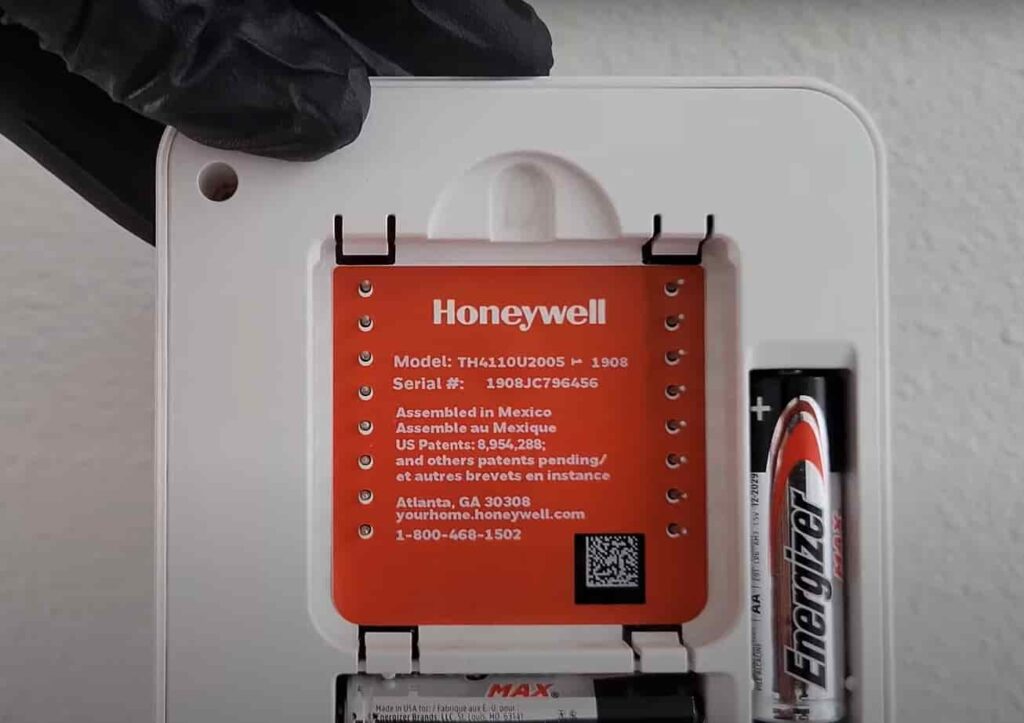
To check the model or series of the honeywell thermostat batteries, you can refer to the manual or the backside of the thermostat.
How long do honeywell batteries last?
The lifespan of honeywell thermostat batteries depends on many factors, like – type of thermostat, model, and usage. However, generally, Honeywell thermostat batteries last at least 8 months to a max of 12 months. Honeywell thermostat have light indicators that let you know when to change the battery. The Honeywell thermostat battery indicator starts blinking 60 days before it completely gets drained.
Honeywell thermostat battery replacement: a step-by-step guide
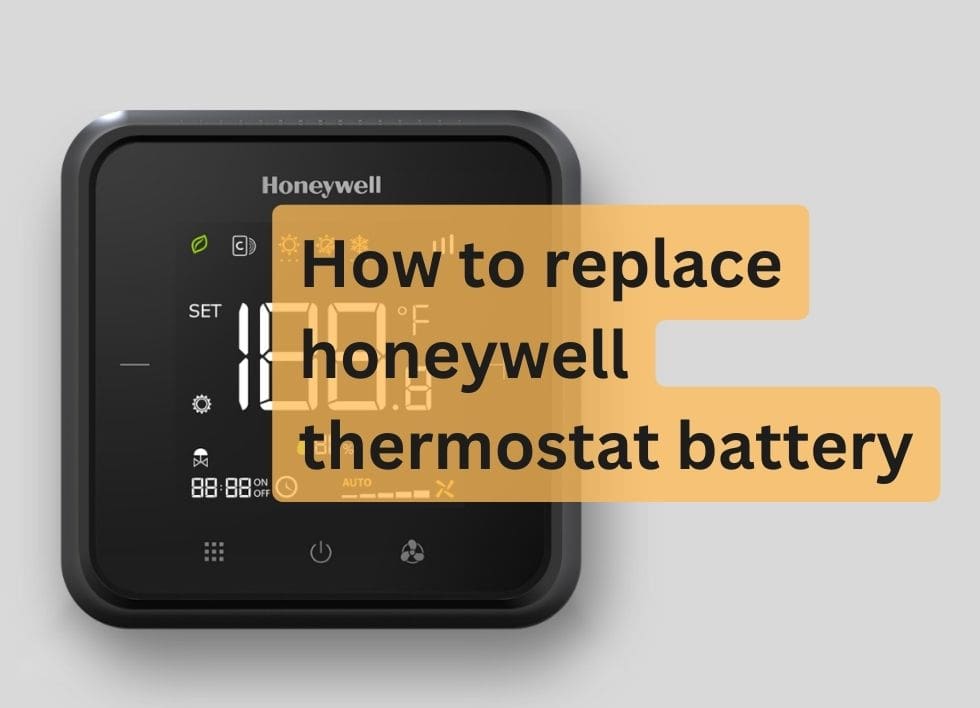
To replace the honeywell thermostat batteries, start by arranging 2 AA or AAA batteries according to the model you have. Most of the model uses AA batteries. Then, take out the cover of the honeywell thermostat cover. Then, remove the old batteries and insert the new batteries. Make sure to insert the batteries with the correct terminals.
It is important to note here that the same method can be applied on honeywell pro series to change the batteries.
Step 1: Identify the type of your thermostat
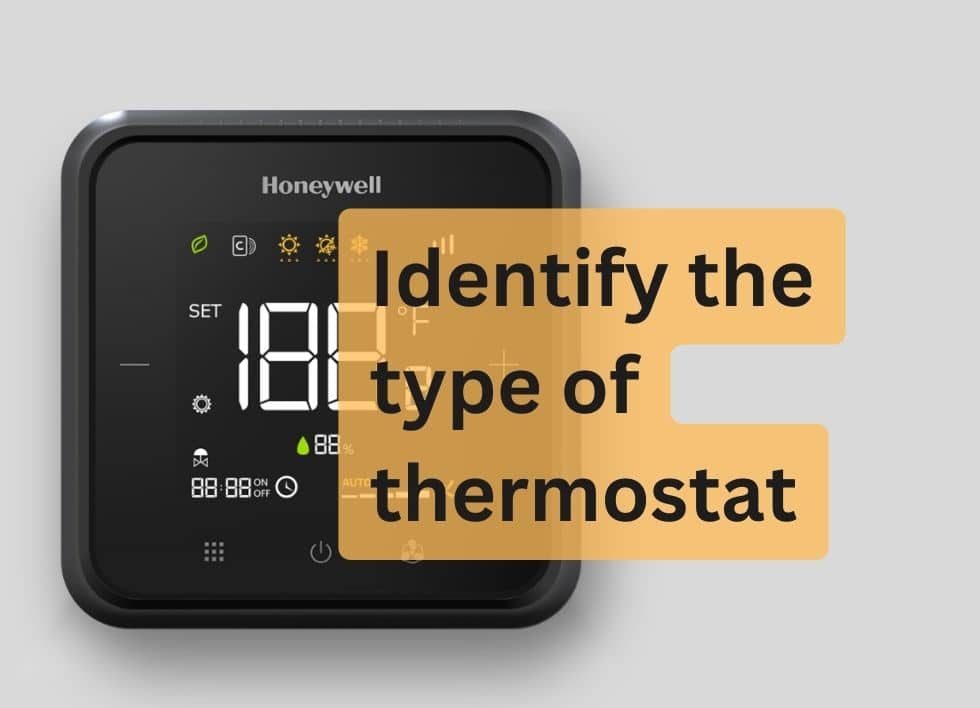
There are basically two types of Honeywell thermostats: Programmable & Non-Programmable. You can easily identify which thermostat you have by looking at the screen and the buttons on display.
Generally, programmable thermostats would have a few extra buttons to set the temperatures and would most probably have a digital display and NOT the analog one.
A non-programmable thermostat would not have many buttons and may have an analog display rather than a digital display.
Although, you can easily confirm if your thermostat is programmable or non-programmable by looking at the back side of the thermostat or the user manual of the thermostat.
Step 2: Take off the cover of the thermostat

Once, you have identified whether you have a programmable or non-programmable thermostat, it’s time to take off the cover of the thermostat. Now, different types of thermostat covers would be removed differently.
To remove the cover of the pro series honeywell thermostats, gently pull the thermostat straight away from the wall. However, a few thermostats comes with a button either on top of the body or at the bottom. Press that button and slide the thermostat cover simultaneously.
Here’s the basic step-by-step procedure to remove the thermostat cover:
- Turn off the thermostat
- Gently pull the thermostat straight away from the wall or press the button(either on top or the bottom) and slide the cover.
- Then, take a screw driver to remove the plate(if your honeywell thermostat have additional decorative cover)
Step 3: Removing the old batteries and insert the new one
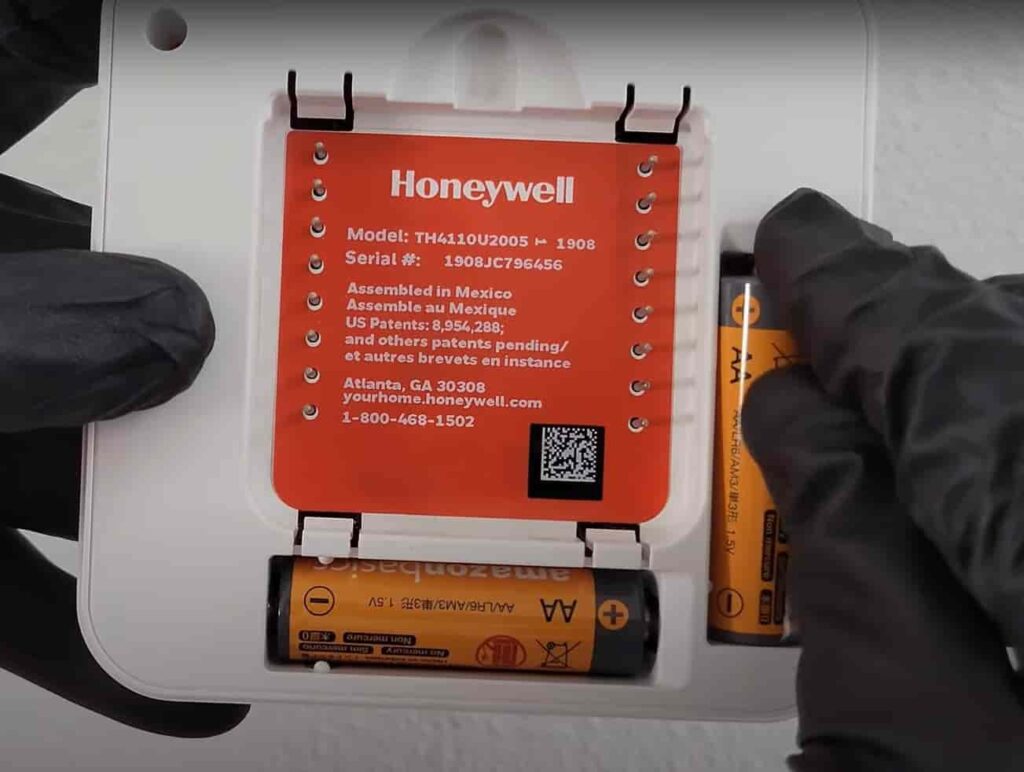
Once, the cover has been removed from the Honeywell thermostat, it’s time to remove the old thermostat batteries. However, take note of whether it was an AA or AAA battery and insert the same type of battery back into the battery holders.
Make sure you insert the batteries into the right positive and negative terminals.
Honeywell thermostat battery replacement not working
There could be a situation when you changed the honeywell thermostat batteries but, it’s not working. It can be due to many reasons, like – incompatible batteries, wrong terminals of the battery or may be any other issue.
We are also going to cover small troubleshooting to fix this problem.
Check the display of the thermostat
Note the status of the thermostat display. Is it completely off or does it show some errors? In case, your thermostat is completely off, you most probably haven’t installed the batteries correctly.
In case, the display of the thermostat is working and showing an error, you need to fix that error. Now, closely notice what type of error it is. Is your honeywell thermostat flashing cool on? So, follow the attached link for help.
Make sure the batteries are installed correctly
If the display of the Honeywell thermostat is completely off, you most probably haven’t installed the battery properly.
Make sure:
- You are using the correct set of batteries (AA or AAA).
- Your batteries have required power. Generally, the thermostat requires a 1.5V battery.
- You have installed the batteries in the correct terminal(Negative and positive)
Make sure the thermostat wiring is correct and properly connected
While re-installing the Honeywell thermostat it might have been possible that the wire of the thermostat gets loose. Check if all the wires are properly attached and if there is no breakage.
Give attention to the power cord, C wire, W or W1, Y or Y1, etc. Fix the wire if you see any breakage.
Reset the thermostat
Despite doing every troubleshooting step, if still, your thermostat isn’t working after battery replacement, you may have to factory reset it. Please note that resetting the thermostat would erase all the settings and you may have to re-install the thermostat.
To factory reset the thermostat:
- If you can access the display, go to “menu”.
- Keep pressing side arrow until you find “reset” option.
- Press it and click on “Factory Reset”.
Conclusion
So, I’ll end this post here. I hope you liked this honeywell thermostat battery replacement guide. We discuss how to change the batteries, what type of batteries Honeywell thermostat use, how long do they last and many more.
If you liked my article, please feel free to share the feedback or write in the comment.


